Behind every masterful piano performance lies a key element that often goes unnoticed: the positioning of the pianist’s fingers. This seemingly technical aspect is, in fact, one of the fundamental pillars of effective technique and exceptional musical expression.
Finger positioning on the piano is much more than a set of rules and guidelines. It is the canvas on which a musician paints their expression, precision, and skill. Imagine a painter with a crooked canvas or a dancer in ill-fitting shoes. Similarly, incorrect finger positioning on the piano can limit your ability to fully express yourself through music.
In this article, we delve deeply into the importance of finger positioning on the piano. You’ll discover how proper positioning can make the difference between a mediocre and a brilliant performance. You’ll learn how your hands and fingers become tools of expression and how solid technique can unlock your musical creativity. Join us on this journey to piano mastery, where every note, passage, and melody is an opportunity to convey emotion and connect with the soul of music.
The Proper Positioning of the Hands
Mastering piano technique starts with hand positioning. The way you place your hands and fingers on the keys can make the difference between clumsy execution and smooth, expressive performance. Let’s explore the importance of proper hand positioning and the foundational principles you should follow.
Basic Position: Curved and Relaxed Fingers
The foundation of proper finger positioning lies in keeping your fingers curved and relaxed. Imagine holding a tennis ball or an orange in the palm of each hand. This image helps visualize the natural curve your fingers should have as they rest on the keys. This position allows the fingers to move with ease and precision, facilitating the production of clear and expressive sound.
When pressing a key, maintain the curved shape of your fingers, like an arch. Avoid playing with straight fingers or over-curving them to the point where you use your nails to press the keys. A common mistake is to tense the fingers in an attempt to exert more control, but tension only hinders fluidity and expressiveness. Relaxation is key; keep your fingers flexible and responsive to every musical nuance.
The exception, of course, is the thumb. You cannot press a key with a curved thumb. Instead, use its natural side to strike the key.

Wrist Posture: Straight and Tension-Free
Wrists play a crucial role in finger positioning. They should be firm but not rigid. Imagine your wrists floating above the keyboard, slightly elevated and free of tension. This posture enables flexible movement and efficient transfer of force to the keys.
Keeping wrists too low or too high can cause tension and negatively affect your technique. The optimal position is one where the wrists are level with the backs of your hands, allowing fingers to move freely up and down.
Fingers on the Keys: Balanced Distribution
A balanced distribution of weight across the fingers is essential to avoid fatigue and improve accuracy. Both hands should remain relaxed and gently supported on the keys. Each finger plays a role in producing clear and defined sounds. Learning to control the pressure exerted by each finger prevents overloading one in particular.
Imagine pressing a toy piano key; the action feels uniform across fingers. Apply this principle to the real piano. Maintain a sense of balance in the pressure each finger exerts. This promotes more controlled playing and prevents faster fatigue of specific fingers. Regular practice will help develop this skill and enhance your overall piano technique.
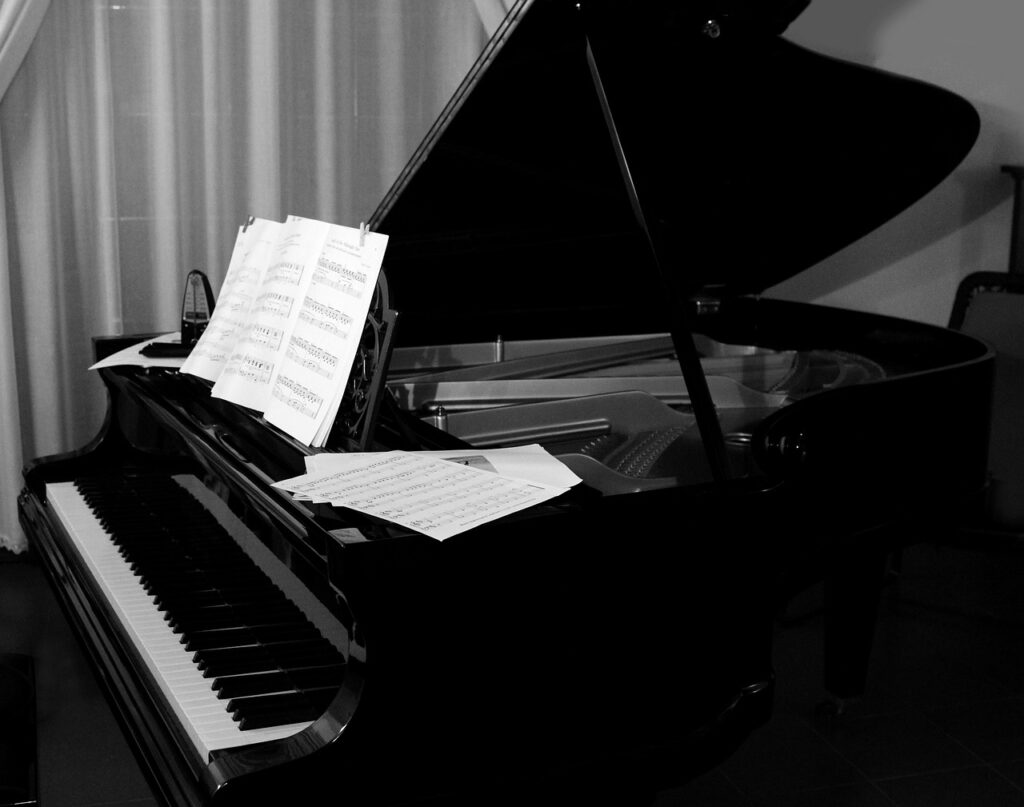
The following image is a representation of how the hand should be positioned on the keyboard:

Common Errors in Finger Positioning
While we’ve explored ideal finger positioning, it’s essential to recognize and avoid certain detrimental habits that can impede your progress as a pianist. Here are some common errors in finger positioning to watch out for:
Stiff or Drooping Fingers
One frequent mistake among beginners is keeping fingers stiff or drooping over the keys. This rigidity significantly limits finger agility and responsiveness. Instead of moving freely, stiff fingers feel “stuck” on the keys, resulting in clumsy, inexpressive playing. The solution is to relax your fingers and allow them greater flexibility. Think of each finger as a spring, ready to move effortlessly across the keys.
Tense or Overarched Wrists
Maintaining tense or excessively arched wrists can cause fatigue and hinder finger control. Wrists should be level and relaxed. Imagine your wrists floating above the keyboard, slightly elevated without tension. Avoid the temptation to bend wrists upward or downward, as this can limit finger mobility. Proper wrist posture ensures efficient force transmission to the keys, giving you better control.
Bad Habits with Thumbs
Thumbs deserve special attention in finger positioning. A common mistake is pressing too hard with the thumbs or bending them excessively. These habits can hinder precision and fluency. Instead, thumbs should rest comfortably and naturally on the keys. Occasionally, when playing chords or rapid passages, thumbs may need to move under other fingers. The key is to avoid tension and allow thumbs to move flexibly.
Overuse of a Single Finger
Relying too much on a single finger, especially the index or pinky finger, can lead to overloading and fatigue. Every finger has an important role in producing clear and precise sounds. Practicing equal effort distribution among fingers is crucial for sustainable performance. Specific exercises to develop finger independence can help correct this issue and enhance your overall technique.
Exercises to Improve Finger Positioning
Perfecting finger positioning requires dedication and consistent practice. Here are some effective exercises to develop solid technique and proper posture:
Scales and Arpeggios: Essential Practice
Scales and arpeggios form the cornerstone of piano technique and are vital for improving finger positioning. Practicing scales in different keys and arpeggios in varied patterns enhances finger independence and coordination. Begin slowly and gradually increase speed to build agility. Mastering these exercises leads to significant improvements in precision and speed.
Finger Independence
Finger independence is crucial for smooth and expressive playing. Exercises that challenge each finger individually and in combination are key. A simple exercise involves alternating between fingers 1 and 5 of each hand. As you gain confidence, incorporate other fingers and mix patterns. This builds coordination and strength in each finger, enabling you to tackle complex passages with confidence.
Stretching and Relaxation After Playing
After an intense practice session, it’s important to care for your fingers and wrists. Perform gentle stretches to release accumulated tension and prevent injuries. A helpful stretch is gently pulling each finger backward, holding it for a few seconds. Rotate your wrists to alleviate stiffness. Practice relaxation techniques by resting your hands on a flat surface and letting your muscles fully relax.
Consistency is key to seeing real improvements in your finger positioning. Dedicate time to these exercises in every practice session, and you’ll notice significant enhancements in your technique and control. Over time, proper finger positioning will become second nature, allowing you to explore the full musical potential of the piano without worrying about hand placement.
Conclusion
In summary, finger positioning on the piano is fundamental to developing a strong pianistic technique. Proper positioning not only enhances accuracy and speed but also prevents long-term injuries. Mastering finger positioning is a crucial step on the path to piano mastery, enabling you to express your musicality with confidence and skill.